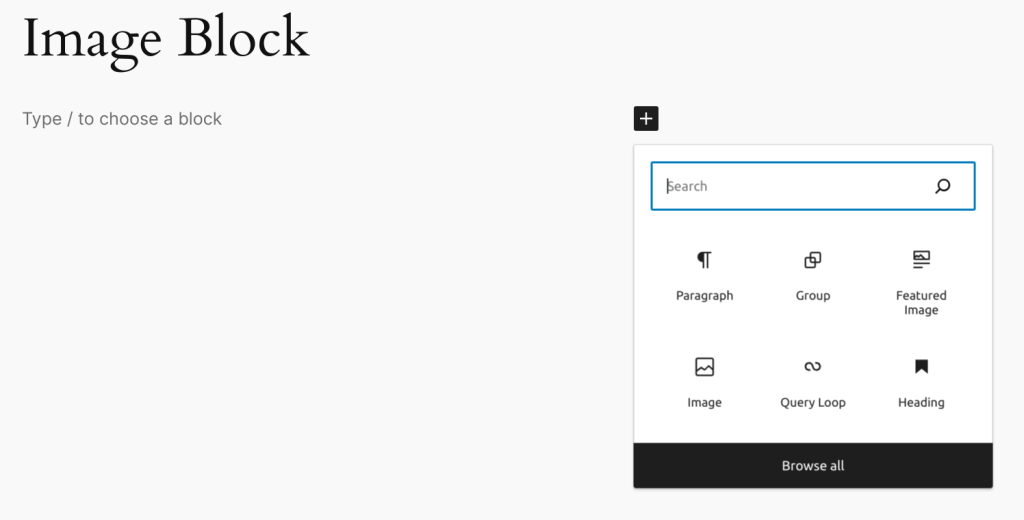
The image block can be added to a page by clicking on the Add Block button.
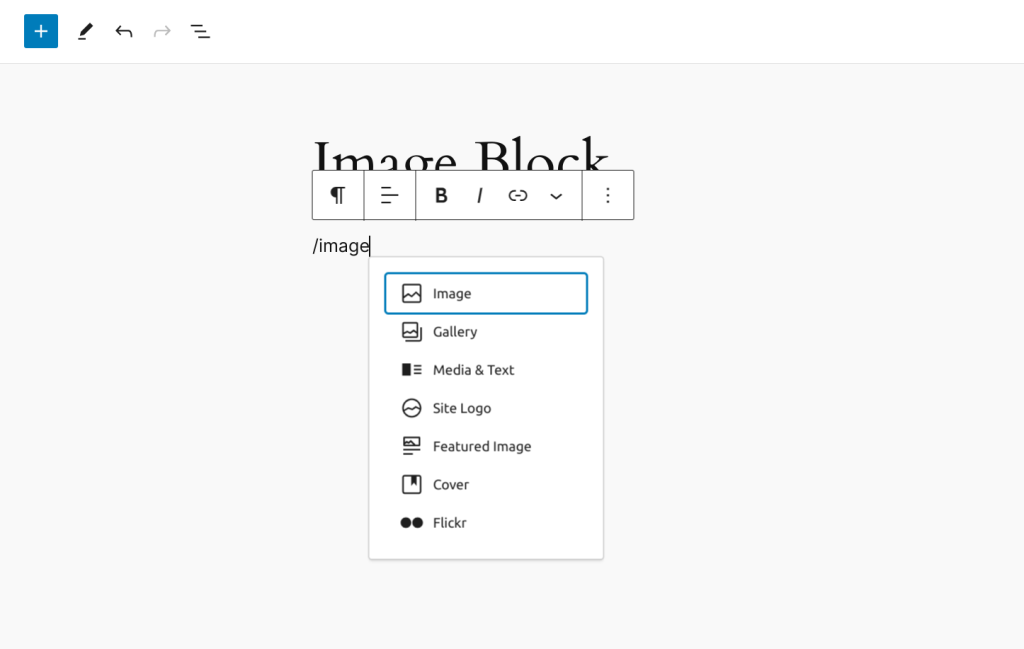
Alternatively, you can type /image and press enter.
Detailed instructions on adding blocks
Block toolbar
Each block has its own block-specific controls that allow you to manipulate the block right in the editor.
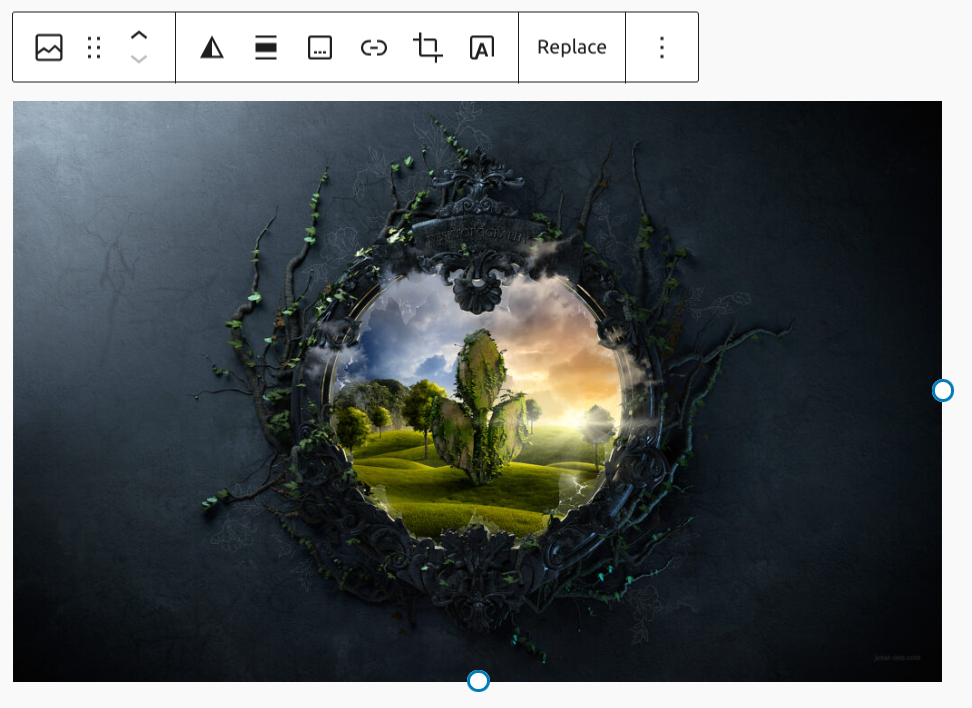
- Change block type
- Drag
- Move arrows
- Add duotone filter
- Align
- Add caption
- Link
- Crop
- Add text over image
- Replace
- More Options
Adding an image
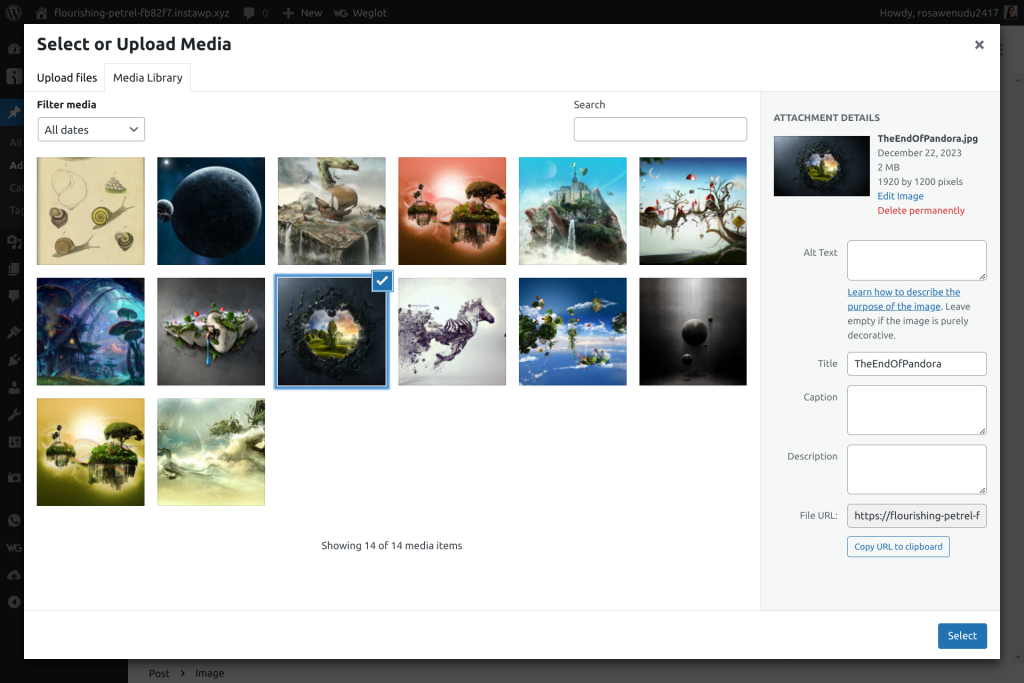
The media options panel will load with three options, Upload, Media Library, and Insert from URL.
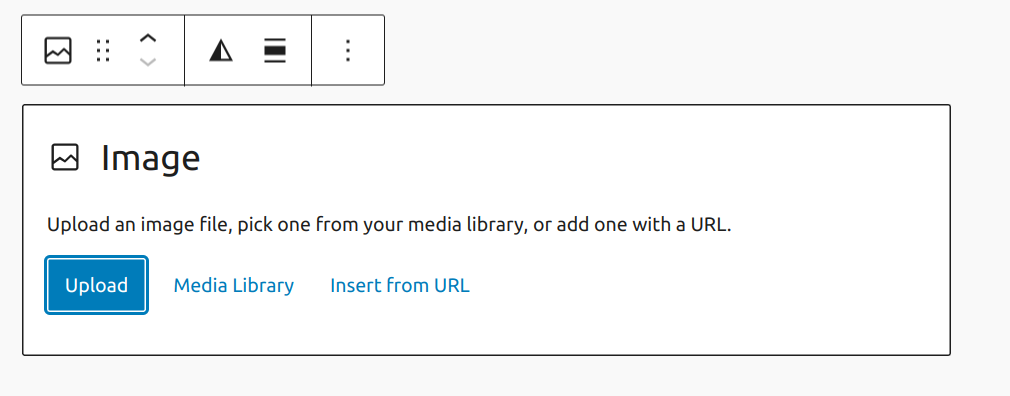
Upload and Media Library will let you add or choose media from your library and embed it in your page.
Simply add the image from the Upload Files tab, then select it in the Media Library tab. Customizing the image attachment details, such as the Title, Caption, Alt Text, and Description, in the Media Library window can also be helpful for SEO and future navigation of your media library.
It is, also, possible to drop image into empty paragraph.
As well as choosing an image from Openverse, which will be uploaded to your site’s Media.
Images can also be dragged from inserter to existing image block.
Importing external images
If you selected the “Insert from URL option” to add your image, you will see a button with an upward facing arrow. If you click on it, the image will be imported into your site’s local Media Library and the URL on the image block will be automatically updated to point at the new file.
If the imported image has a caption, it will be added automatically as well.
Please note that the “Upload External Image” feature might not work on all websites, as some of them restrict how their images are handled.
Resizing images
Once the image is added to the editor, you can resize and align the images to better fit the surrounding content.
To resize an image,
- Click on the image to reveal the draggable resize handles.
- Click on the resize handles and drag the image to your desired size.
Alternatively, on the right-hand side in the Block Settings, the image size can be fine-tuned by adjusting width and height dimensions. There are also some convenient options in the block settings for setting the image to 100, 75, 50, and 25% of its original size.
Aligning images
If you wish to align an image within a paragraph you will first need to insert the image just above the target paragraph block.
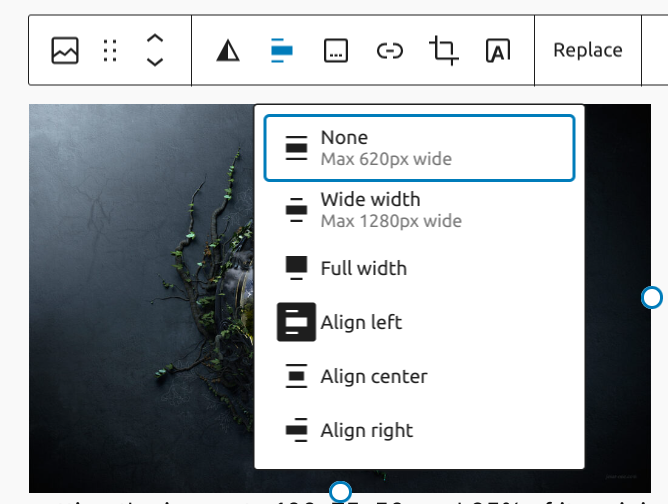
From there, click on the image and select left or right alignment, this will merge the image into the paragraph block.
Finally, resize the image to your desired width and height.
Wide and Full width images
As support for the new editor is added to our themes, you will begin seeing icons for Wide and Full Width images. These two image sizes will allow you to expand the image beyond the theme’s usual content width.
Captions
If you wish to add a caption to a singular instance of an image, simply type it in the caption space below the image in the editor.
Link settings
The link settings allow you to hyperlink your images. You may choose for clicking on the image to open an attachment page, the original media file, or a custom URL of your choice.
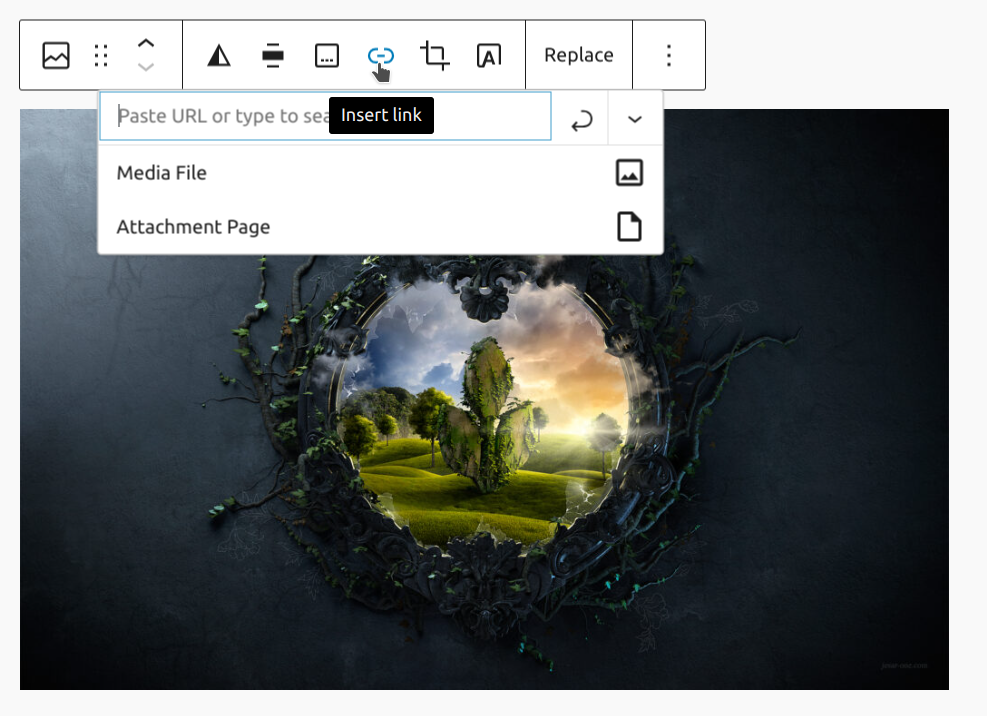
Image editing
A new feature allows you to make quick crops without leaving the editor. Just hit the Crop button in the toolbar.
An expanded toolbar will appear. This will allow you to zoom an image.
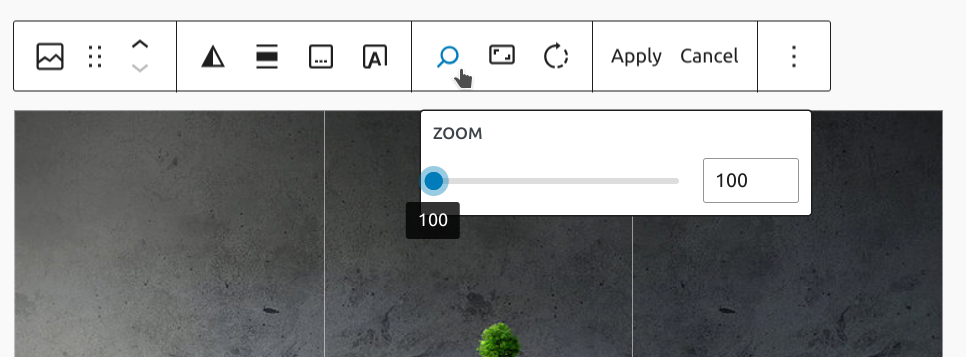
There are also options to set the aspect ratio, such as to crop the image into a square.
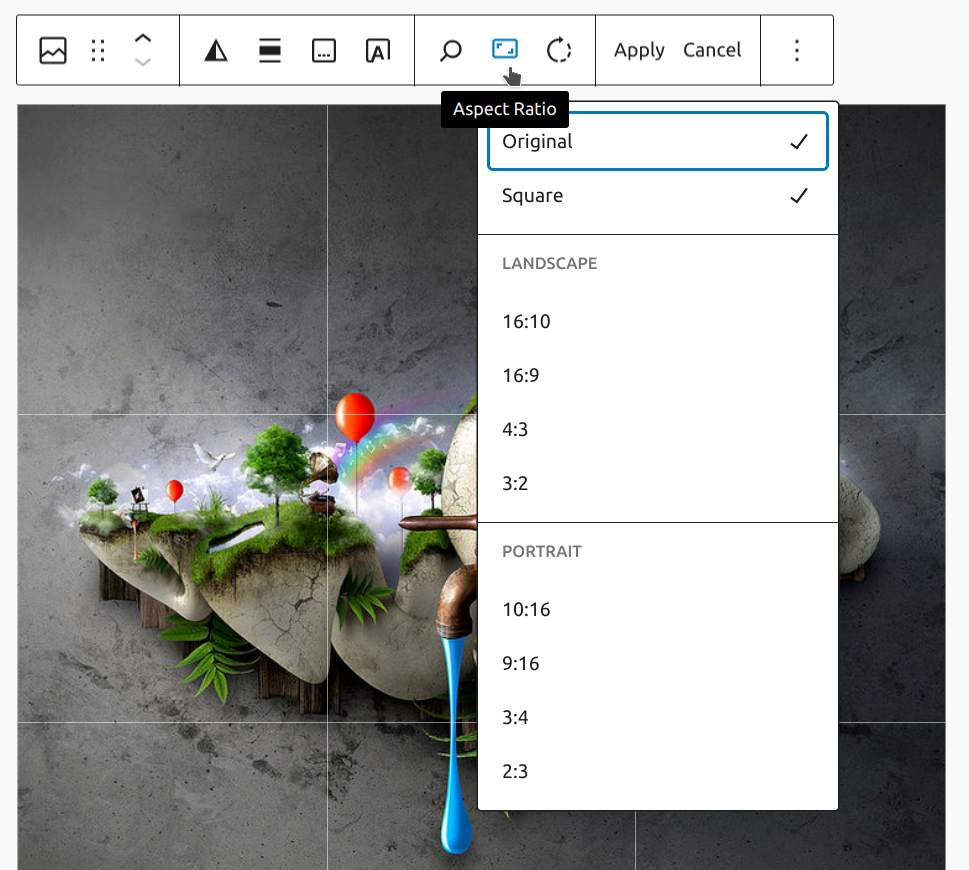
You can also rotate the image if it comes in sideways.
After you make any changes, click Apply.
Adding text overlay
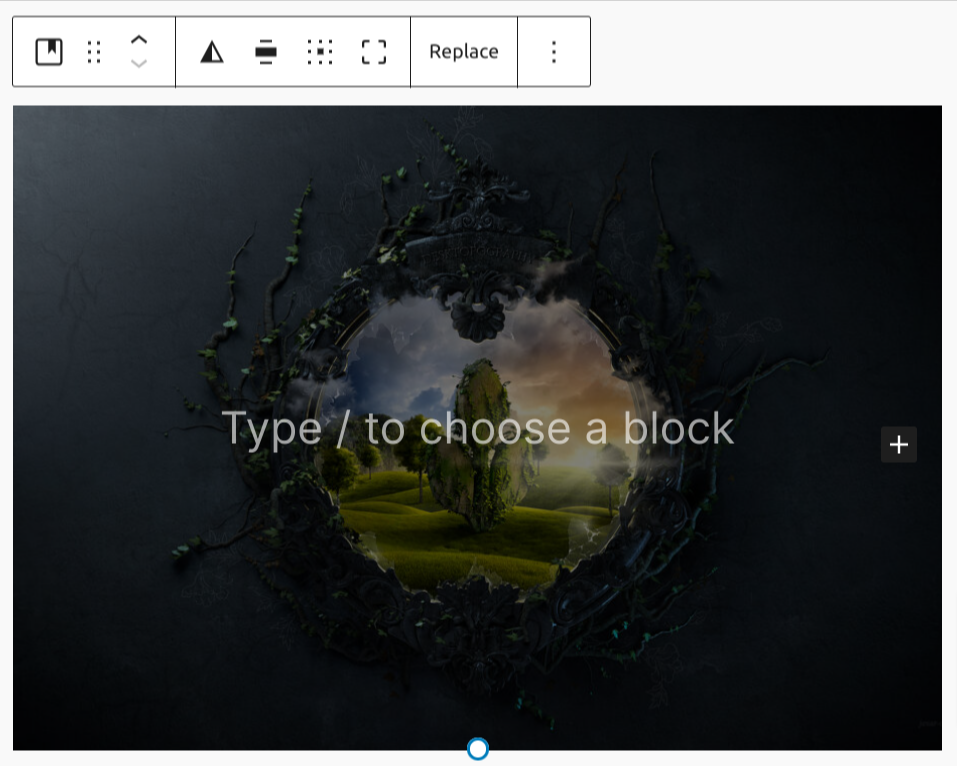
A new feature allows you to convert image block to cover block so that you can add overlay text on the image.

Upon clicking the Add text over image button the block transforms immediately to a cover block with its placeholder paragraph.
Sometimes you use a tool like Google Docs to write or collaborate on posts. When you’re ready to put the content on your site, you may copy and paste them into the editor.
One problem is that those images are likely hosted somewhere else like Google and could easily become broken if a change is made.
So, If you copy and paste an image from a resource like Google Docs, a button will appear on the toolbar to upload it to the media library. Click that, and it will stay in the post, but also upload to your media library.
More options
These controls give you the option to copy, duplicate, and edit your block as HTML.
Read about these and other settings.
Block settings
Every block has specific options in the editor sidebar in addition to the options found in the block toolbar. If you do not see the sidebar, click the ‘cog’ icon next to the Publish button.

Styles
Depending on your theme, you may have several styles for your image. In Twenty Twenty-One, you can choose to make the image rounded, with borders or a frame.

Image settings
The image settings offer a text field to add an Alternative Text description, which is important for accessibility and SEO.
You can choose the Image size between thumbnail, medium, large and full size. You can also change the Image dimensions – width and height dimensions of an image in 25% increments, or in exact pixel dimensions.


Filter options
You can create a filter effect on images without actually changing the original image.
The filter option allows you to add this filter color to your block content from the block toolbar.
Read more about the filter options.
Border
The Image block provides border settings options to add border color, width, and radius. If there are custom border settings, custom border will be visible on image placeholder.
For details refer to this support article: Border settings overview
Advanced
The Title attribute field is designed to describe the role of the image on your page. Many devices and browsers don’t display this text.
HTML anchor allows you to do “page jumping” to that specific image. Page jumping, also sometimes referred to as anchor links, is where you click a link and instantly get moved somewhere further up or down a long page.
To enable this, you put an HTML Anchor in your photo, and create a link that jumps to the anchor.
The advanced tab also lets you add a CSS class to your block, allowing you to write custom CSS and style the block as you see fit.
Changelog
- Update 2024-01-25
- Updates for 6.2 completed
- Allow dropping an image on an empty paragraph block to create an image block
- Updates for 6.3 completed
- Display custom borders on image placeholder
- Upload Openverse images when inserted
- Allow dragging-and-dropping images from the inserter to image blocks
- Updates for 6.4 completed
- Update 2024-01-16
- Updates for 6.1 completed
- Re-upload missing images
- Update 2023-12-25
- Update screenshots and videos for 6.4
- Update 2022-12-12
- Added Border settings
- Updates 2022-11-28
- Added missing image caption
- Replaced content on more options
- Updated 2022-03-15
- Added notes about converting cover block from toolbar.
- Updated 2022-01-25
- Updated a few screenshots to align with expanded toolbar.
- Added notes about using duotone.
- Updated 2021-01-04
- Updated all screenshots to WordPress 5.6
- Added section on image title attribute (Gutenberg 6.9/WP 5.4)
- Added section about easy upload for external images (Gutenberg 8.5/WP 5.5)
- Added section about block editor image editing (Gutenberg 8.4/WP 5.5)
- Added details on HTML Anchor and Image Styles to Advanced
- Removed pencil (edit) icon and added more option menu
- Removed some out-of-date content
- Re-ordered to match the current block toolbar layout
- Updated 2020-06-18
- Added ‘Link back to blocks’ to the top of the page
- Added the ‘Changelog’
- Created 2019-03-07