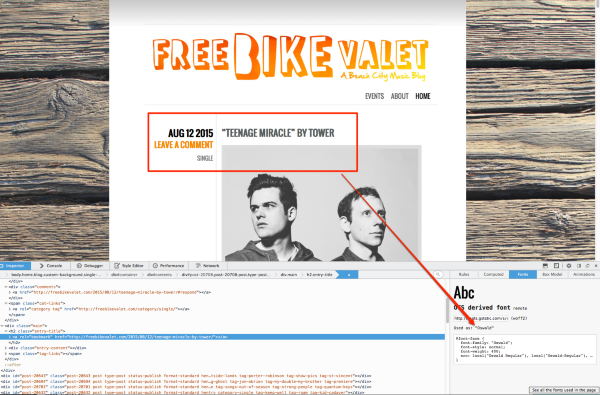
Thanks for the link!
Here is the CSS for the orange/grey colour palette you were using on WordPress.com:
#container {
	background-color: #fff;
	background-image: -moz-linear-gradient( rgba(0,0,0,0.22), rgba(255,255,255,0) 80px );
	background-image: -webkit-linear-gradient( rgba(0,0,0,0.22), rgba(255,255,255,0) 80px );
    padding: 0 100px 1px;
}
#wpstats {
	display: none;
}
.page-link a:hover { color: #fff;}
body { background-color: #69D2E7;}
a:hover { color: #f38c24;}
blockquote { border-color: #f38c24;}
.hentry .entry-meta .cat-links a:hover { color: #f38c24;}
#site-title a:hover { color: #f38c24;}
.hentry .entry-meta .comments a { color: #f38c24;}
.page-link a { background-color: #f38c24;}
#menu a:hover { color: #f38c24;}
.entry-title a:hover { color: #f38c24;}
.hentry .entry-meta .edit-link a:hover { color: #f38c24;}
#footer a { color: #AA5602;}
.entry-title, .entry-title a { color: #585f5f;}
And here is the CSS you were using in the Custom CSS panel:
li.page-item-3234 {
	margin-left: -20px;
}

body.custom-background {
	background-size: 105%;
}
(You’ll likely need to adjust the page item number for the li code above, since it’ll probably be different on your self-hosted site.)
Since you’re already using Jetpack, an easy way to add custom CSS is to activate the Custom CSS module. You’ll then add your custom CSS in the new stylesheet editor that’ll appear in your dashboard, under Appearance > Edit CSS.
I’d suggest you try adding the above CSS to the Jetpack custom CSS editor – that should get your self-hosted site looking more like it did before.
Let me know how it goes!

